
MOA vs MIL-DOT: The Complete Guide to Choosing and Adjusting Your Riflescope
You’re there, everything lined up, breathing under control, finger on the trigger, you fire… and the impact shows up a good few centimeters away from the center!
And at that moment there are two types of shooters: the one who says “that was the wind” and the one who starts fiddling with the scope turrets as if they were solving a Rubik’s cube. The truth is simple: your scope isn’t “broken”, you’re just not speaking the same language as it.
This is where the adjustment turrets come in. Small clicks that, in practice, decide whether you hit the center of the target… or whether you’re unintentionally training artistic shooting.
And in the middle of all this, two “villains” appear (or saviors, depending on the day): MOA (Minute of Angle) and MIL-DOT (Milliradian).
If this sounds like high school math you promised never to use again… you’re in the right place. We’re not going to complicate things here.
We’re going to translate this into human language, explain what these systems are, why they exist, and how a simple “click” can be the difference between hitting the center or arguing with the target. And yes, by the end of all this, you’ll realize the problem wasn’t the scope, it was just the way you were adjusting it.
What are adjustment turrets on a riflescope?
If you’ve ever looked at a riflescope and thought “okay… it has buttons, but nobody explained what they do”, welcome to the club.
The adjustment turrets are basically the “control panel” of your scope. This is where you stop shooting “more or less” and start precisely correcting where the shot is actually landing.
On most scopes, you’ll find two main turrets:
- Elevation (vertical): Used to adjust the impact of the shot up or down. If the shot is landing below the target, this is where you correct it.
- Windage (horizontal): Used to adjust left or right. If you’re hitting off to the side of the target, this is the turret that comes into play.
How do they work mechanically?
Inside, these turrets are connected to the internal system of the scope that moves the reticle (the cross you see in the glass).
When we turn a turret, we’re shifting the reticle inside the optic, and that makes the point of impact of the shot move up, down, or sideways.
In other words, you’re not changing the bullet, you’re changing how the scope “points” at it. That’s why a small adjustment can significantly change the impact at medium distance.
What does a “click” on the turret mean?
Now for the part everyone has heard… but not everyone really understood.
Every time you turn the turret, you feel a “click”. That click represents a fixed unit of adjustment on the scope.
Depending on the model, it can be:
- 1/4 MOA
- 1/8 MOA
- 0.1 MIL
In other words, each click moves the point of impact by a very specific amount.
What is MOA?
Let’s be honest: “MOA” sounds like the kind of thing that should come with a 300-page manual and a headache included. But no. It’s simpler than it looks…
MOA (Minute of Angle) is basically a way of measuring small adjustments in the direction of the shot based on angles.
Explained more simply: forget formulas and think of it like this:
MOA is a “standard way” of expressing how much the point of impact moves when you adjust the scope. If the scope were a language, MOA would be the universal ruler.
Relationship with distance
This is where it starts to make practical sense:
1 MOA ≈ 2.9 cm at 100 meters
Translated into real shooting: at short distance you barely notice a difference, but as the distance increases, the adjustment “opens up”. In other words, the farther the target, the greater the effect of the same MOA adjustment.
So… how many centimeters is 1 MOA?
A simple rule you should remember:
- 100 m ~ 2.9 cm
- 50 m ~ 1.45 cm
- 25 m ~ 0.7 cm
And what do the turrets have to do with this?
This is where things get useful… Many scopes use MOA directly in their turret clicks.
Common examples:
- 1 click = 1/4 MOA
- 2 clicks = 1/8 MOA
Imagine you’re at 100 m, the shot is 11.6 cm below the center and your scope adjusts in 1/4 MOA.
Knowing that:
- 1 MOA ≈ 2.9 cm
- 1/4 MOA ≈ 0.725 cm per click
You’ll need about 16 clicks to correct it.
Yes… now you’re starting to understand why some people count clicks as if they were counting money.
What is MIL-DOT / MIL?
If MOA already sounded like “math with personality”, MIL comes with a more technical vibe… but don’t worry, in practice it’s just another way of measuring the same thing: precision adjustments.
MIL-DOT (Milliradian) is a system based on the metric system, widely used in precision shooting and tactical contexts.
Think of it like this:
MIL is a way of measuring small angles using the metric system (meters and centimeters).
In other words:
✓ MOA speaks in “fractions of a degree”
✓ MIL speaks in “parts of a meter at distance”
✓ MOA is more “traditional”, MIL is more “directly metric”
MIL-DOT and MIL adjustment
This is where many people get lost:
- MIL-DOT (reticle): The little dots you see on the crosshair that are used to estimate distance and compensate for bullet drop.
- MIL (adjustment turrets): The system used to adjust the scope in clicks.
It’s important to note that not all scopes with a MIL-DOT reticle have MIL adjustment, and not all scopes with MIL adjustment have a MIL-DOT reticle.
Relationship with distance
Here’s the simple rule that really matters:
1 MIL ≈ 10 cm at 100 meters
And it scales like this:
50 m ~ 5 cm
25 m ~ 2.5 cm
1 MIL is a “larger block” of adjustment than MOA.
Why is it so widely used in military and tactical contexts?
The MIL system is very popular because:
✓ It works in the metric system (more intuitive internationally);
✓ It makes quick calculations in the field easier;
✓ It pairs well with distance estimation using a MIL-DOT reticle;
✓ It’s simpler for communication between operators.
Example:
Imagine you’re at 100 m and the shot is 10 cm off center. That’s approximately 1 MIL of correction.
In other words, instead of thinking in “tiny complicated fractions”, you think in larger, more visible and direct blocks.
MOA vs MIL-DOT: what’s the difference?
If you’ve made it this far, congratulations, you already understand more about scopes than 90% of people who say “it’s just point and shoot”.
Now comes the classic question: “MOA or MIL… which is better?”
The short answer? It depends.
The honest answer? It depends on the kind of brain you have for quick calculations in the middle of a shot.
MOA
- Based on a more “traditional” (imperial) system;
- Uses degrees and fractions of degrees.
MIL-DOT
- Based on the metric system;
- Works with meters and centimeters more directly.
This is where many people end up deciding without even realizing why.
The MOA system is usually seen as more precise for small adjustments, because it allows you to work with greater detail and fine control. However, it demands a bit more “mental math”, since you often work with fractions like 1/4 or 1/8 MOA, which can make calculations less immediate.
The MIL system, on the other hand, is more direct and intuitive. It’s easier to estimate quickly in the field and has less fractional complexity in practice, which makes adjustments simpler and faster to interpret.
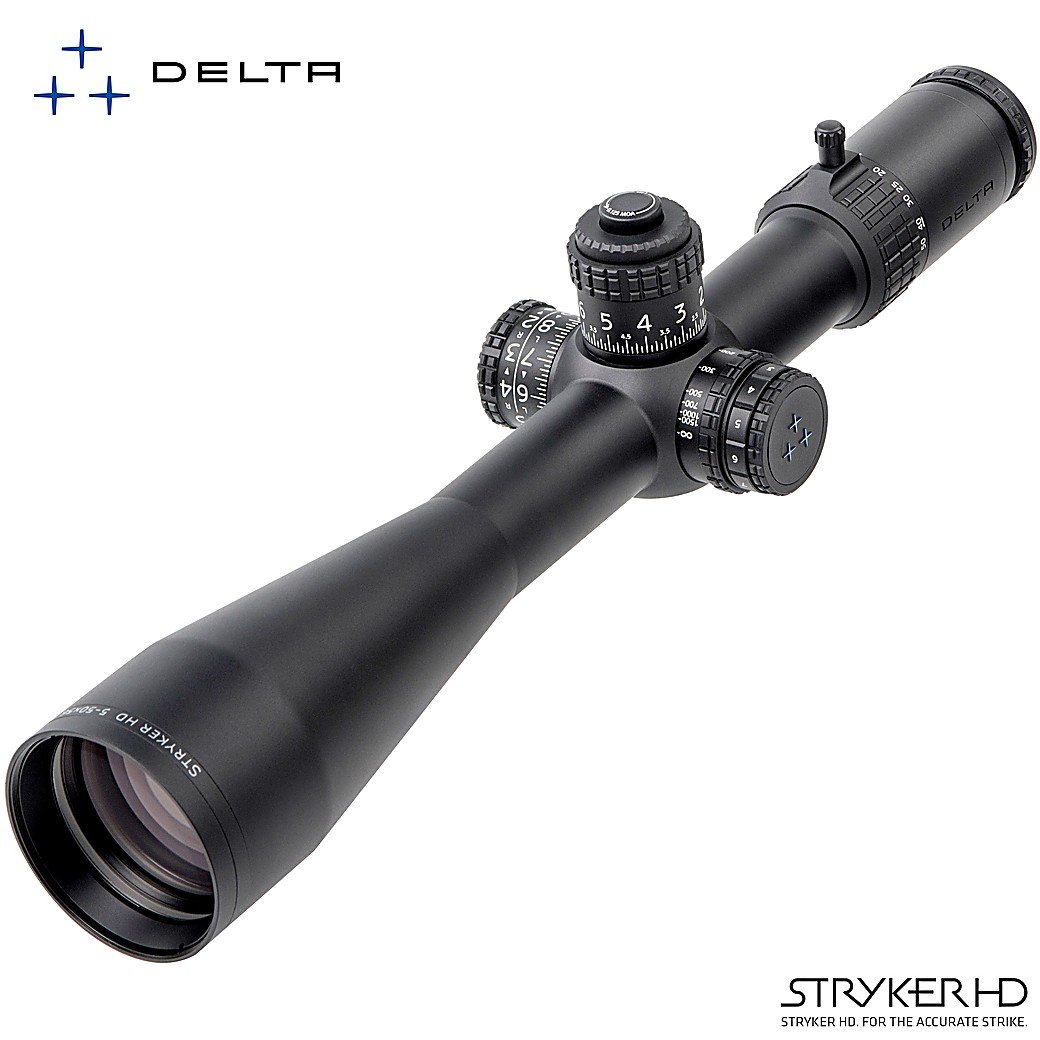
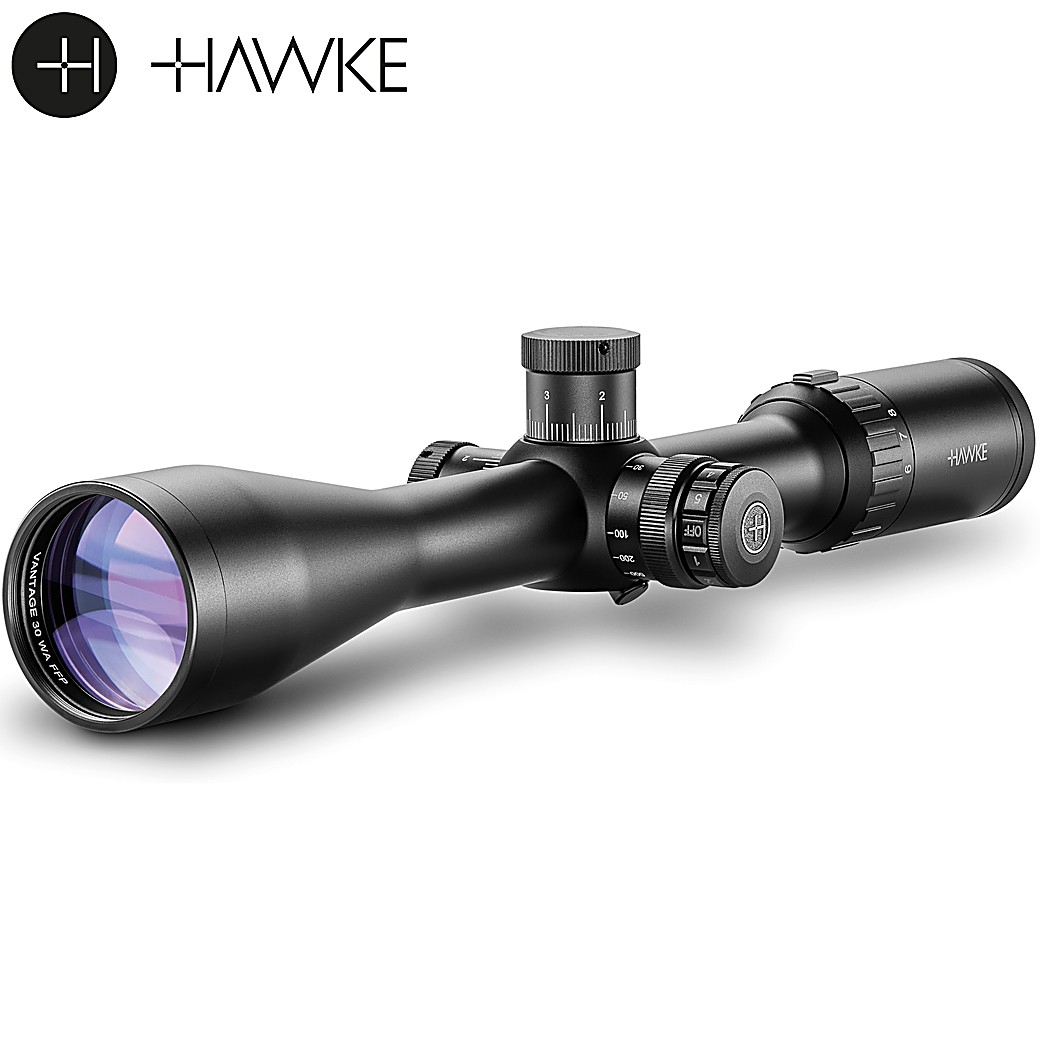
Which is easier for beginners?
Generally speaking, MIL tends to be easier to understand at the beginning, especially because it follows a more straightforward logic aligned with the metric system, which makes quick interpretation of adjustments easier.
On the other hand, MOA can be more comfortable for users who prefer a higher level of detail and fine control, especially when working with small corrections in a more methodical way.
In simple terms, for those who are just starting out, MIL is usually more intuitive, while MOA tends to appeal more to those who enjoy more meticulous precision.
Which is more precise at long distances?
There’s a common misconception here: it’s not about one system being more precise than the other.
The precision of the scope doesn’t depend on whether it’s MOA or MIL, but on the quality of the equipment and how it’s adjusted.
In practical terms, both systems are equally precise. What changes is only the way the correction is measured and applied, not the final result in terms of accuracy.
How to interpret adjustment turrets in practice
Up to this point we’ve talked about concepts, systems, and acronyms. But this is where everything starts to make sense in the real world: when you have the scope mounted, the target in front of you, and you really need to hit it.
The adjustment turrets are, in practice, what turns theory into real correction of the point of impact. The problem is that many people turn clicks without really understanding what’s happening.
How to read turret values?
The first thing to do is understand what your turret is actually indicating.
On most scopes, you’ll find something like: 1 click = 1/4 MOA or 1/8 MOA or 1 click = 0.1 MIL.
This means that each mark on the turret isn’t “random”, it’s a fixed correction unit.
How much does the impact move per click?
This is where everything becomes practical. Each click moves the impact by a certain amount, depending on the system and the distance to the target.
✓ At short distances, the change seems small.
✓ At longer distances, the same correction becomes much more visible.
The click itself doesn’t change, its effect increases with distance.
Practical example (25 m / 50 m / 100 m)
Let’s imagine a simple scenario: the shot is slightly below the center.
- At 25 meters: A small adjustment may be enough to correct the impact with just a few clicks.
- At 50 meters: The same error already requires a more noticeable correction on the turrets.
- At 100 meters: This is where the clicks really start to matter, and a small initial error may require several adjustments before you hit the center.
In other words, the greater the distance, the more important it is to understand the real effect of each click.
How to do zeroing (scope sighting)?
If there’s a moment when the relationship between shooter and scope becomes “make or break”, it’s this one: zeroing.
In practice, this is where you stop “chasing the center” and start ensuring that your scope is really aligned with the point of impact of the shot.
What does it mean to “zero the scope”?
“Zeroing the scope” simply means adjusting it so that the point of impact of the shot coincides with the point of aim at a given distance.
In simple terms: where you’re aiming is exactly where the shot will land at that defined distance.
That reference point is called “zero”.
How to zero step by step
- First reference shot
Start by firing a group of shots at a fixed distance (for example, 25 m or 50 m), without making excessive prior adjustments.
Goal: understand where the impact really is in relation to the target.
- Vertical adjustment (elevation)
After identifying the vertical deviation:
- If the shot is below the target – adjust upwards
- If it’s above – adjust downwards
This is where MOA or MIL systems come in, determining how many clicks you need to correct the deviation.
- Horizontal adjustment (windage)
Next, you correct the lateral deviation:
- Shot to the left – adjust to the right
- Shot to the right – adjust to the left
The goal is to progressively bring the impact closer to the center of the target.
- Confirm and repeat
After adjusting, shoot again to confirm.
Zeroing is not a single perfect adjustment, it’s a fine-tuning process.
Importance of the zero distance
The distance chosen to “zero” the scope is essential, because it defines how your weapon will behave afterwards.
The most common are:
- 10 meters – widely used in recreational and short-distance shooting
- 25 meters – a balance between precision and versatility
- 50 meters – more common in sport shooting and greater ballistic stability
Most common mistakes when using MOA and MIL-DOT
After understanding how everything works in theory and practice, we get to the part where most people stumble: mistakes. And interestingly, they’re not equipment errors, they’re almost always errors of interpretation and process.
MOA and MIL-DOT are very precise systems, but they only work well when they’re used methodically.
- Confusing units
One of the most common mistakes is mixing MOA and MIL without realizing it.
This happens when:
✓ The scope is in MOA, but the shooter is thinking in MIL, or the opposite;
✓ Or when information from different sources is compared without confirming the system.
Typical result: adjustments that “don’t make sense” and shots that never seem to line up.
- Not knowing the real distance to the target
Another very frequent mistake is assuming the distance “by eye”.
The problem is simple: MOA and MIL depend directly on distance, and an error in estimation completely changes the result of the adjustment.
- Adjusting too much at once
This one is a classic…
Instead of making small, controlled adjustments, some people turn the turret several times “to see what happens”.
The problem:
✓ You lose reference to the starting point;
✓ You overshoot the center easily;
✓ You end up not knowing where the original zero was.
- Not considering wind and ballistics
Many people assume the shot only depends on the scope, but that’s not true.
Factors such as crosswind, bullet drop, the type of ammunition used, and the actual distance to the target directly influence the point of impact of the shot.
In simple terms, the scope allows you to make the necessary adjustments, but the final result will always be affected by the conditions.
Which system should you choose for your type of shooting?
At this point, the question is no longer “what is MOA or MIL?”, but rather: which one makes more sense for me?
The answer is not universal; it depends a lot on how and where you are shooting, and also on the type of control you like to have.
MOA and MIL-DOT are two different paths to the same goal: hitting with precision. The difference lies in how you prefer to get there.
Precision target shooting
If your focus is fine detail, consistency, and very precise adjustments, the MOA system tends to fit better.
It is common in:
✓ Precision shooting at short and medium distances;
✓ Users who like to fine-tune the point of impact to the millimetre;
✓ Those who prefer to work with smaller, more controlled adjustments.
In general: MOA gives more “refinement” in adjustment.
Recreational shooting
For more casual shooting, where the goal is to have fun and hit consistently without overcomplicating things, the MIL system is usually more intuitive.
It works well for:
✓ Informal training sessions;
✓ Occasional shooting at varying distances;
✓ Users who want quick adjustments.
In general: MIL makes quick decisions easier without much mental math.
PCP vs spring / IGT
The type of rifle also influences the experience with the adjustment system.
✓ PCP: more stability and consistency, ideal for exploring finer and more precise adjustments.
✓ Spring / IGT: greater variation in the shot, where simpler and faster adjustments can be more practical.
In simple terms, the more consistent the system, the more sense it makes to use detailed adjustments.
Beginners vs advanced shooters
Beginners usually benefit more from the MIL system because it is more straightforward and easier to interpret from the start.
Advanced shooters tend to adapt better to MOA or even switch between systems, depending on the type of shooting and equipment.
Practical tips to improve accuracy
After understanding how the turrets work, the MOA and MIL systems, and how to zero, we reach the most important part of all: what really improves your results in the field.
And here the truth is simple: it’s not just the equipment that makes the difference, it’s how you use it.
- The importance of consistency
Accuracy doesn’t start at the trigger; it starts with repetition.
Always maintaining the same shooting position, the same way of supporting the rifle, and a consistent routine of breathing and firing can contribute more to accuracy than many of the adjustments made on the scope itself. Consistency is one of the most important factors for achieving predictable results and repeating good groupings on a regular basis.
- Use of a rest or bipod
Trying to achieve maximum precision without any support is like trying to write neatly inside a moving bus.
Using a bipod, a shooting bag, or a stable bench helps significantly reduce human error during the shot. By minimising involuntary movements of the rifle, it becomes easier to keep the scope aligned and repeat the same position between shots. As a result, impacts tend to be more consistent and groupings tighter.
- Basic wind reading
Wind is that “invisible adjustment” many people ignore… until they start missing shots that “should have hit”.
Even seemingly light wind can significantly influence the projectile’s trajectory, causing lateral deviations that become more evident as distance increases. Therefore, reading wind conditions is an important skill for any shooter looking to improve accuracy. As a general rule, the greater the distance to the target, the greater the influence of wind on the point of impact.
- Recording adjustments (shooting log)
One of the most important habits for consistent progress is keeping a record of the shots and adjustments made. Writing down information such as target distance, wind conditions, number of clicks made on the turrets, type of ammunition used, and the results obtained allows you to identify patterns and more easily understand what works best in each situation.
Besides helping to improve accuracy over time, this record prevents you from having to start from scratch every time you return to a particular distance or setup.
In the end, accuracy does not depend only on the scope you use, but also on how you use it. Maintaining a consistent position, using a stable rest, understanding the influence of wind, and recording the adjustments made are habits that help achieve more predictable results and evolve consistently over time.
By combining these good practices with a correct understanding of the MOA and MIL-DOT systems, the adjustment turrets, and zeroing, you will be better prepared to get the most out of your equipment and improve your accuracy shot after shot.
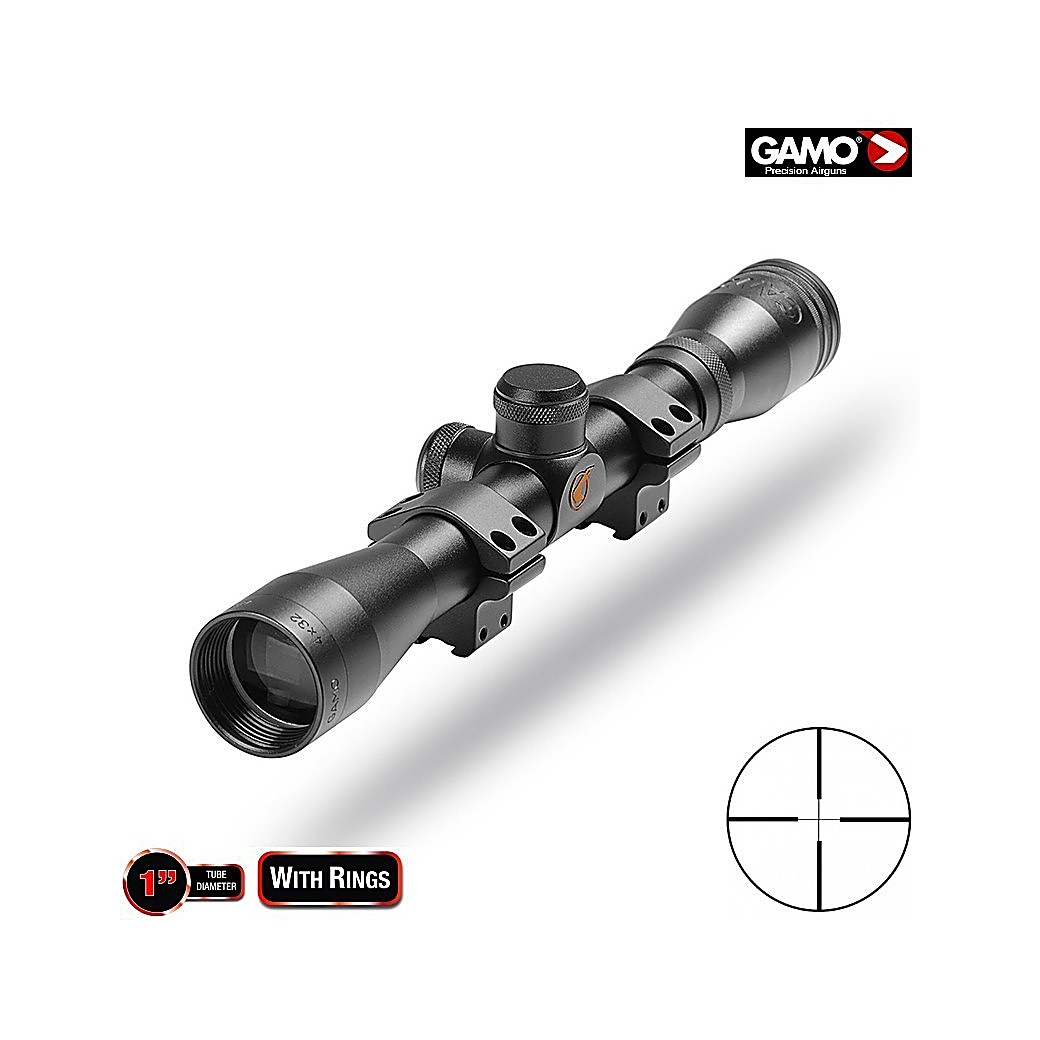
If you are thinking about buying a new riflescope or simply finding a solution better suited to your type of shooting, at Mundilar you will find a wide selection of scopes for air rifles, PCP, and other target shooting disciplines.
Frequently asked questions
How do I know if my scope is in MOA or MIL?
This information can usually be found in the manufacturer’s specifications, on the packaging, or in the scope manual. In many models, the adjustment turret itself indicates the value of each click, such as 1/4 MOA or 0.1 MIL.
Can I use a scope with a MIL-DOT reticle and MOA turrets?
Yes, but it is not the most practical configuration. When the reticle and turrets use different systems, you constantly need to convert values between MIL and MOA, increasing the likelihood of error during adjustments.
Why does my scope lose its zero?
Several factors can cause this problem, including loose mounts, vibrations caused by shooting, impacts to the rifle, or even component wear. Therefore, it is important to regularly check that the mounts are tight and confirm the scope’s zero.
Should I re-zero the scope when I change ammunition?
Yes. Different types of ammunition can have different velocities, weights, and trajectories, which may alter the point of impact. Whenever you change ammunition, it is advisable to check the scope’s zero again.
Should the adjustment turrets always stay at the zero position?
Not necessarily. The important thing is to know what your reference point is. Many shooters reposition the turrets to “zero” after sighting in, making future corrections and returns to the initial setup easier.
Does magnification (zoom) affect scope adjustments?
The turret adjustments work the same way regardless of the magnification used. However, in some scopes with a second focal plane (SFP) reticle, the reticle references may only be accurate at a specific magnification level.
What does it mean for a scope to be FFP or SFP?
In an FFP (First Focal Plane) scope, the reticle increases and decreases along with the image, keeping the measurement references correct at any magnification. In an SFP (Second Focal Plane) scope, the reticle remains the same visual size and the references are only exact at a specific magnification.
Is it worth choosing a scope with exposed turrets?
Exposed turrets allow quick adjustments in the field without needing to remove caps. They are widely used in precision and long-range shooting, while protected turrets are often preferred for hunting or recreational use.
How often should I check my scope’s zero?
It depends on usage and the type of rifle. Whenever the rifle suffers an impact, is transported for long periods, or there are changes to the equipment, it is recommended to confirm that the zero is still correct.
What is the best distance to start zeroing a new scope?
For most users, starting between 25 and 50 metres allows the first adjustments to be made more quickly and economically, before finally zeroing at the usual shooting distance.
 Artigos Relacionados: