
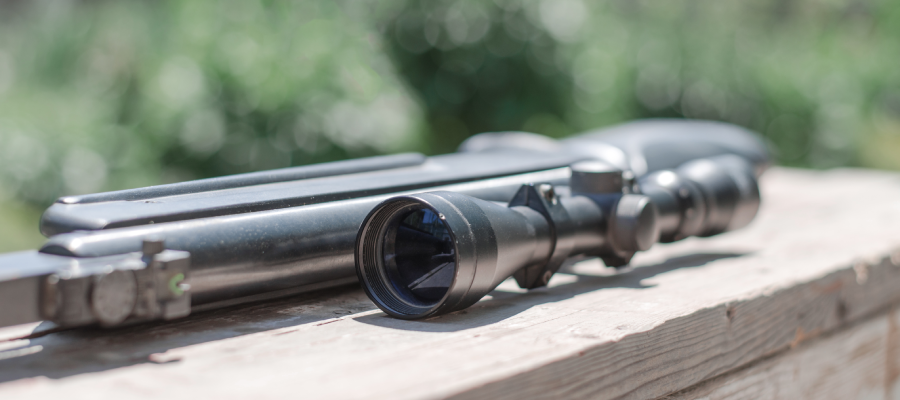
How to calibrate a rifle scope: step-by-step guide
You have bought a new scope, mounted everything carefully, aimed at the target… but the pellet still seems determined to land somewhere else? If that sounds familiar, you are not alone. It is one of the most common issues when fitting a scope for the first time.
The truth is that a scope is not automatically zeroed simply because it has been mounted correctly on the rifle. To get the most out of your equipment, you need to align the point you are aiming at with the point where the projectile actually strikes the target.
In this guide, we will explain step by step how to zero a scope, from the initial preparation through to the final turret adjustments. You will learn how to interpret deviations, how many clicks to make and which mistakes to avoid in order to achieve a properly zeroed scope and more consistent results on target.
What does zeroing a scope mean?
✓ Quick answer: Zeroing a scope means adjusting it so that the point you are aiming at matches the point where the projectile strikes the target at a given distance.
It sounds simple, but there is an important difference between where the scope is aimed and where the pellet will actually land.
When you look through the scope and place the crosshair exactly in the centre of the target, you are establishing your point of aim. However, the projectile may strike a few centimetres above, below or to either side of that point. Zeroing is precisely what corrects that difference.
The aim is to establish a zero: a reference distance at which the scope is adjusted so that the point of aim and the point of impact coincide. For example, if you zero your scope at 25 metres, then at that distance, when you place the crosshair in the centre of the target, the projectile should strike exactly there.
Before you start: what do you need to zero a scope?
Before you start shooting and making adjustments to the scope turrets, it is important to make sure you have everything ready. Many zeroing problems do not come from the scope itself, but from small details such as incorrect mounting, a lack of stability or changes made during testing.
To zero a scope correctly, make sure you have:
✓ A scope properly mounted on the rifle
Before making any adjustments, check that the scope is securely fixed, aligned and completely free from movement. An unstable mount can cause impacts to shift constantly and prevent you from maintaining zero.
✓ A suitable target and a defined distance
Choose a target that makes the impacts easy to see and decide in advance the distance at which you will zero the scope. This distance will be the reference point for all scope adjustments.
✓ A stable rest
Whenever possible, use a shooting bag, bipod or bench. The less movement there is when shooting, the easier it will be to understand the true behaviour of the rifle and scope.
✓ Sufficient, consistent ammunition
Always use the same type of pellet throughout the zeroing process. Changing ammunition halfway through the test can alter the point of impact and make zeroing more difficult.
✓ The necessary tools
Depending on the type of mount you use, you may need a tool to check the screws or make small adjustments.
✓ A consistent shooting position
Try to keep the same posture, support and technique for every shot. If you constantly change the way you shoot, it becomes harder to tell whether a change came from the scope or the shooter.
With everything prepared, you are ready to start the zeroing process and adjust the scope until the point you are aiming at corresponds to where the projectile strikes the target.
How do you mount a scope correctly before zeroing it?
Before you start adjusting the turret clicks, there is one step that is often overlooked: making sure the scope is mounted correctly.
You can spend hours trying to zero a scope, but if the mounting is not done properly, you will only be trying to correct a problem that does not come from the adjustments. A poorly installed scope can cause the point of impact to shift constantly and make it seem as though the rifle “will not hold zero”.
1. Choose the correct mounts
The first step is to ensure that the mounts are compatible with your rifle and the scope itself.
You should consider:
- Rail compatibility – the mount must fit your rifle’s mounting system correctly;
- Scope tube diameter – the mounts must match the diameter of the scope tube; the most common sizes are 1″, 30 mm and 34 mm;
- Suitable height – a mount that is too high or too low can affect your shooting position and comfort when aiming.
The aim is to find a position that allows comfortable use while keeping the scope firm and correctly aligned with the rifle.
2. Align the scope correctly
After choosing the right mounts, it is important to position the scope correctly before tightening it permanently.
Some essential points:
- Eye relief: Adjust the scope’s position so that you can see the entire field of view without shadows or dark areas when you are in your normal shooting position.
- Levelling: The scope must be properly aligned, with the reticle straight and not tilted. Even slight rotation can affect your adjustments, particularly when shooting at longer distances.
- Comfortable position: The scope should allow a natural shooting position. If you have to strain your head or constantly alter your posture, you will struggle to achieve consistent results.
3. Tighten without overdoing it
There is an important balance here. A mount that is not tight enough may allow the scope to move when shooting, causing it to lose zero. On the other hand, over-tightening can damage the scope tube or compromise the operation of its internal components. The objective is to ensure a firm, secure fit while always following the manufacturer’s recommendations.
At what distance should I zero a scope?
✓ Quick answer: The ideal distance for zeroing a scope depends on the intended use, calibre and power of the rifle. However, for most air rifles, 25 and 50 metres are widely used as reference distances for zeroing a scope.
There is no “magic” distance that works for every shooter. The best choice is the one that matches how you intend to use your rifle day to day.
To better understand the differences between each distance and choose the most suitable starting point, see the table below:
| Distance | What it is for | Advantages | Keep in mind |
|---|---|---|---|
| 10 metres | Ideal for the first adjustments and for confirming the scope’s initial alignment. | Allows you to correct large deviations quickly, use less ammunition and bring the point of impact closer to the centre of the target. | It is not usually the final zeroing distance for shooters who intend to shoot at longer ranges. |
| 25 metres | One of the most commonly used distances for the initial zeroing of a scope. | Makes deviations easier to identify, enables quick turret adjustments and is a good starting point for finding your first zero. | The scope’s behaviour at longer distances may differ due to the projectile’s trajectory. |
| 50 metres | Better suited to those looking for greater precision and who want to test their equipment more thoroughly. | Allows you to assess shot groups, test different pellets and gain a clearer understanding of the rifle’s behaviour. | Wind, projectile drop and ammunition quality begin to have a greater influence. |
| More than 50 metres | Used mainly by shooters with equipment set up for longer distances. | Allows you to explore the full potential of more powerful, more accurate rifles. | The choice depends on factors such as power, calibre, pellet weight, trajectory and environmental conditions. |
Therefore, when choosing the distance at which to zero your scope, first consider a simple question: at what distance do I usually shoot?
The best zero will always be the one adapted to your real-world use.
How do you zero a scope step by step?
Now that your scope is correctly mounted, the distance is set and all the equipment is prepared, it is time to start zeroing.
The idea is simple: shoot, observe where the impacts are appearing and adjust the scope until the point of impact coincides with the point you are aiming at.
But be careful: zeroing a scope is not a matter of turning the turrets at random until you hit the target. It is a process of small adjustments and confirmations.
Step 1: Take your first shots
Start by placing the target at your chosen distance and fire a small group of shots. The aim of these first shots is not to hit the centre straight away, but to understand where the rifle is actually placing its impacts.
Avoid making adjustments after just one shot. An isolated shot may result from a small movement on your part, variation in the pellet or another external factor. Ideally, take several shots and observe the overall trend of the group.
Step 2: Analyse the impact deviation
Once you have a group of shots, compare the position of the impacts with the point you were aiming at.
The logic is simple:
| Where are the impacts? | What should you adjust? |
|---|---|
| Above the target | Adjust the elevation down to lower the point of impact. |
| Below the target | Adjust the elevation up to raise the point of impact. |
| To the left | Adjust the windage right to move the point of impact to the right. |
| To the right | Adjust the windage left to move the point of impact to the left. |
The aim is to gradually bring the centre of the shot group closer to the point of aim.
If the results continue to differ from what you expected, here are some of the most common issues that may be affecting the zeroing process:
How to zero a scope: a step-by-step guide
| Problem | Possible cause | Solution |
|---|---|---|
| Shots above or below the target | Elevation incorrectly adjusted | Correct the elevation turret |
| Shots consistently land in different positions | Loose scope or inconsistent ammunition | Check the mounting and use the same pellet |
| Impacts drifting left or right | Windage incorrectly adjusted | Correct the scope’s windage turret |
| The scope frequently loses zero | Scope movement or mounts that are not tightened properly | Check the mounting screws and alignment |
| Good shots one day and poor ones the next | Changes in shooting conditions | Keep the distance, position and ammunition consistent |
Step 3: Adjust the scope turrets
This is where the scope adjustment turrets come in. Most scopes have two main turrets:
Elevation turret: Allows you to correct the vertical point of impact, moving shots up or down.
Windage turret: Allows you to correct horizontal deviation, moving impacts to the left or right.
Each adjustment is made in clicks, with each click representing a small movement of the reticle. The value of each click depends on the scope and may be shown in MOA or MIL.
If you would like to better understand how these adjustments work, also read our article: “MOA vs MIL-DOT: The Complete Guide to Choosing and Adjusting Your Riflescope”, where we explain these systems in detail.
Step 4: Shoot again and confirm
After making an adjustment, shoot again and check the result once more.
The zeroing process is always the same:
Shoot → observe → adjust → test again.
Avoid changing too much at once. Large changes can make you lose your reference point and make it difficult to understand which adjustment actually had an effect.
Do not change several things at the same time either. If you change your shooting position, pellet type and scope adjustments simultaneously, you will never know exactly what improved or worsened the result.
Zeroing a scope requires some patience, but when you finally get the crosshair and point of impact aligned, you will see that every click was worthwhile.
How do you know whether your scope is correctly zeroed?
✓ Quick answer: A scope is correctly zeroed when you can place your shots at the intended point and, above all, repeat that result consistently.
Hitting the centre of the target with one shot may seem like a sign that the scope is zeroed, but a single shot does not tell the whole story. In precision shooting, the most important thing is not where one isolated shot lands, but where a group of shots lands.
To understand whether your scope is truly zeroed, you should analyse two important factors:
1. Assess the shot groups
After zeroing, shoot several groups and observe the distance between impacts. A good group means that the shots land close to one another, showing that the combination of rifle, scope and ammunition is working consistently.
Even if the group is not exactly in the centre of the target, a scope that produces tight groups may simply need a small turret adjustment.
2. Confirm repeatability
A correctly zeroed scope should allow you to repeat your results. If you achieve a good group today but, in the next session, the impacts appear widely scattered without any change to the equipment, there may be an issue with:
- the scope mounting;
- the ammunition used;
- shooting conditions;
- the equipment setup.
What are the most common mistakes when zeroing a scope?
Zeroing a scope seems simple: shoot, see where the pellet landed and adjust. But in practice, many shooters end up wasting time adjusting the scope without realising that the problem lies elsewhere.
Before you start changing settings without knowing exactly what is happening, check that you are not making any of these mistakes:
Adjusting the scope after only one shot
One shot can be misleading. Small movements during the shot, pellet variation or external conditions can alter the result. Always take several shots and analyse the group before touching the turrets.
- Not using a stable rest
If the rifle is moving during the shot, you may end up adjusting the scope to compensate for your own movements. A stable rest helps you understand the rifle’s true behaviour and makes zeroing much more precise.
- Changing ammunition during the process
Different pellets can have different trajectories and behaviours. If you are zeroing the scope, always use the same pellet type throughout the process. Otherwise, you may be adjusting the scope for ammunition that you will no longer use later.
- Moving the turrets without counting the clicks
Turning the turrets without knowing how many clicks you are making can make zeroing confusing. Record the adjustments you make so that you can understand which changes work and easily return to the previous setup if necessary.
- Not checking the scope mounts
A scope that is not tightened properly or has shifted slightly may mean that you can never maintain zero. Before blaming the scope or rifle, always check that the mounts are firm and correctly positioned.
- Trying to correct shooter errors through the scope
Not every deviation comes from the scope. An inconsistent position, poor shooting technique or changes in how you rest the rifle can create errors that no scope adjustment will solve. Before touching the turrets, make sure you are always shooting in the same way.
Ultimately, a well-zeroed scope does not depend solely on turning the turrets until you hit the target. It depends on a careful process in which mounting, ammunition and shooting technique all play an important role. The more consistent your tests are, the easier it will be to understand your rifle’s behaviour and find the setup that allows you to repeat good results.
Can a scope lose its zero?
✓ Quick answer: Yes. A scope can lose its zero over time, especially if there is movement in the components, changes to the equipment or changes in conditions of use.
A correctly zeroed scope does not mean it will remain perfect regardless of what happens. Several factors can cause the point of impact to begin moving away from the point of aim:
- Mounts that are not tightened properly;
- Knocks or impacts;
- Improper transport;
- Changing ammunition;
- Rifle vibrations;
- Mechanical changes.
Therefore, if you notice that your rifle is no longer hitting where it used to, do not immediately assume that the scope is damaged. First check the mounts, the ammunition used and the shooting conditions.
How do you keep a scope zeroed?
Once you have achieved the ideal zero, a few simple precautions will help keep the scope consistent for longer.
- ✓ Check the mounts regularly;
- ✓ Store the rifle properly;
- ✓ Use consistent ammunition;
- ✓ Confirm the zero regularly.
Keeping a scope zeroed is, above all, about making sure that the entire setup continues to work in harmony. Good mounting, consistent ammunition and regular zero checks help preserve accuracy and avoid surprises when it is time to shoot.
After all, a well-zeroed scope is not only for hitting the centre of the target once. It is for building confidence, repeating good groups and getting the most out of your rifle.
If you are looking for a new scope or the right accessories to improve your setup, Mundilar offers a wide selection of telescopic sights for different uses, calibres and experience levels.
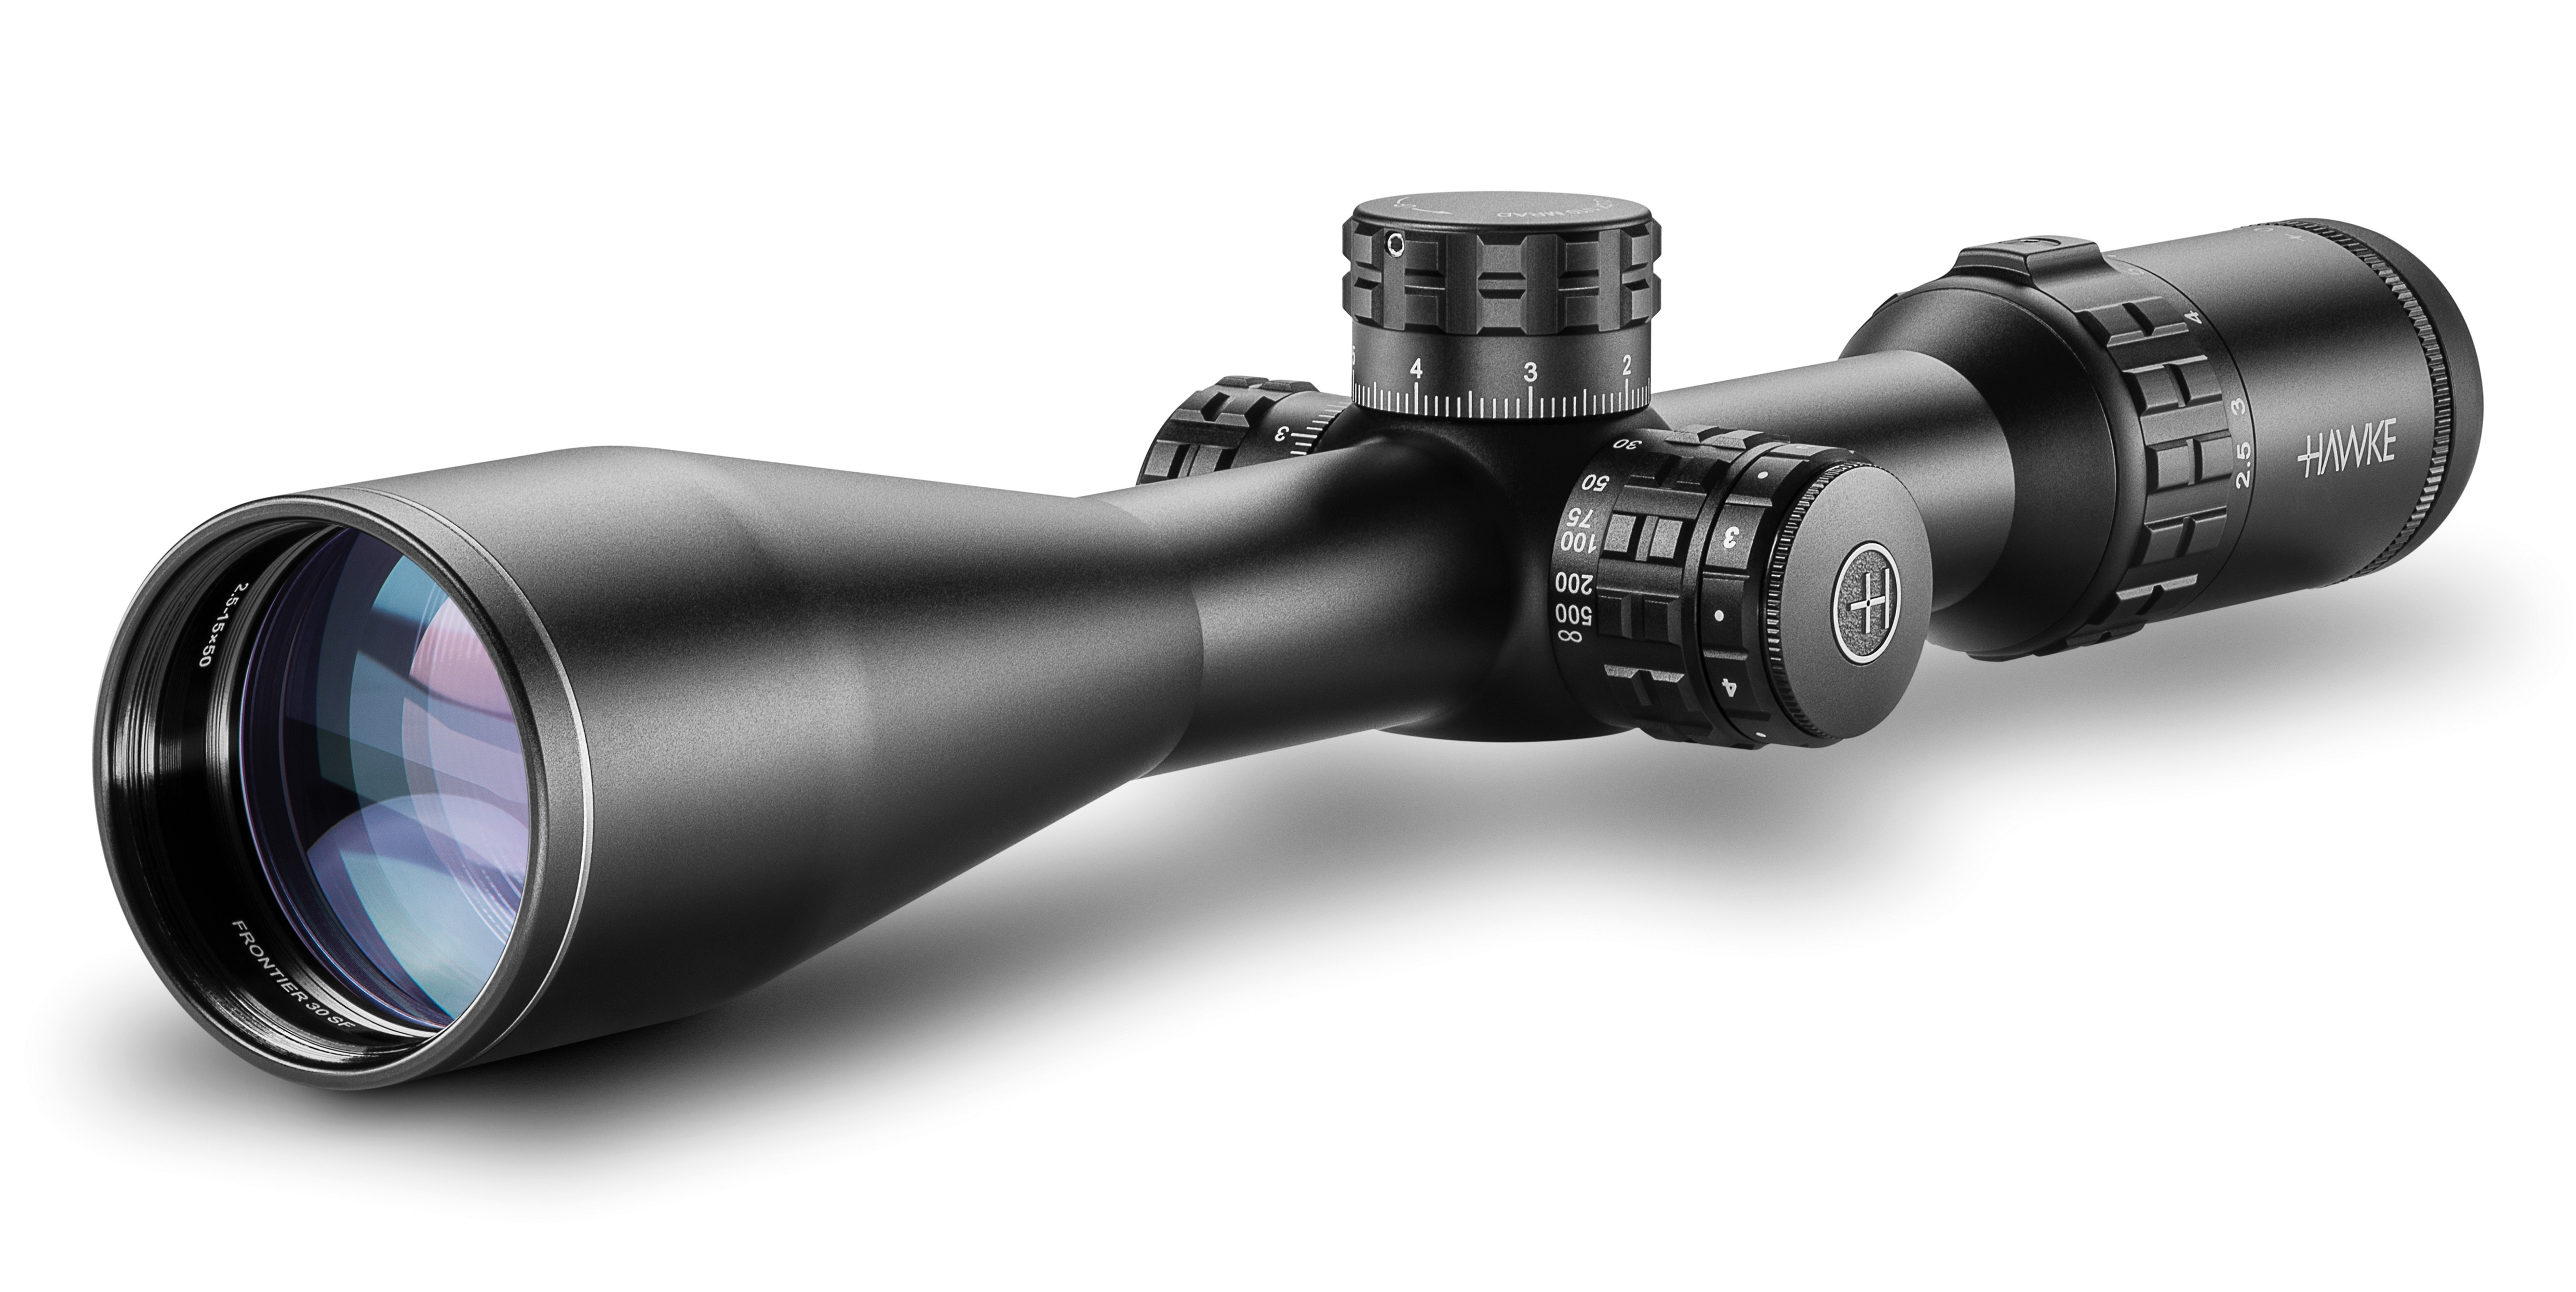 | 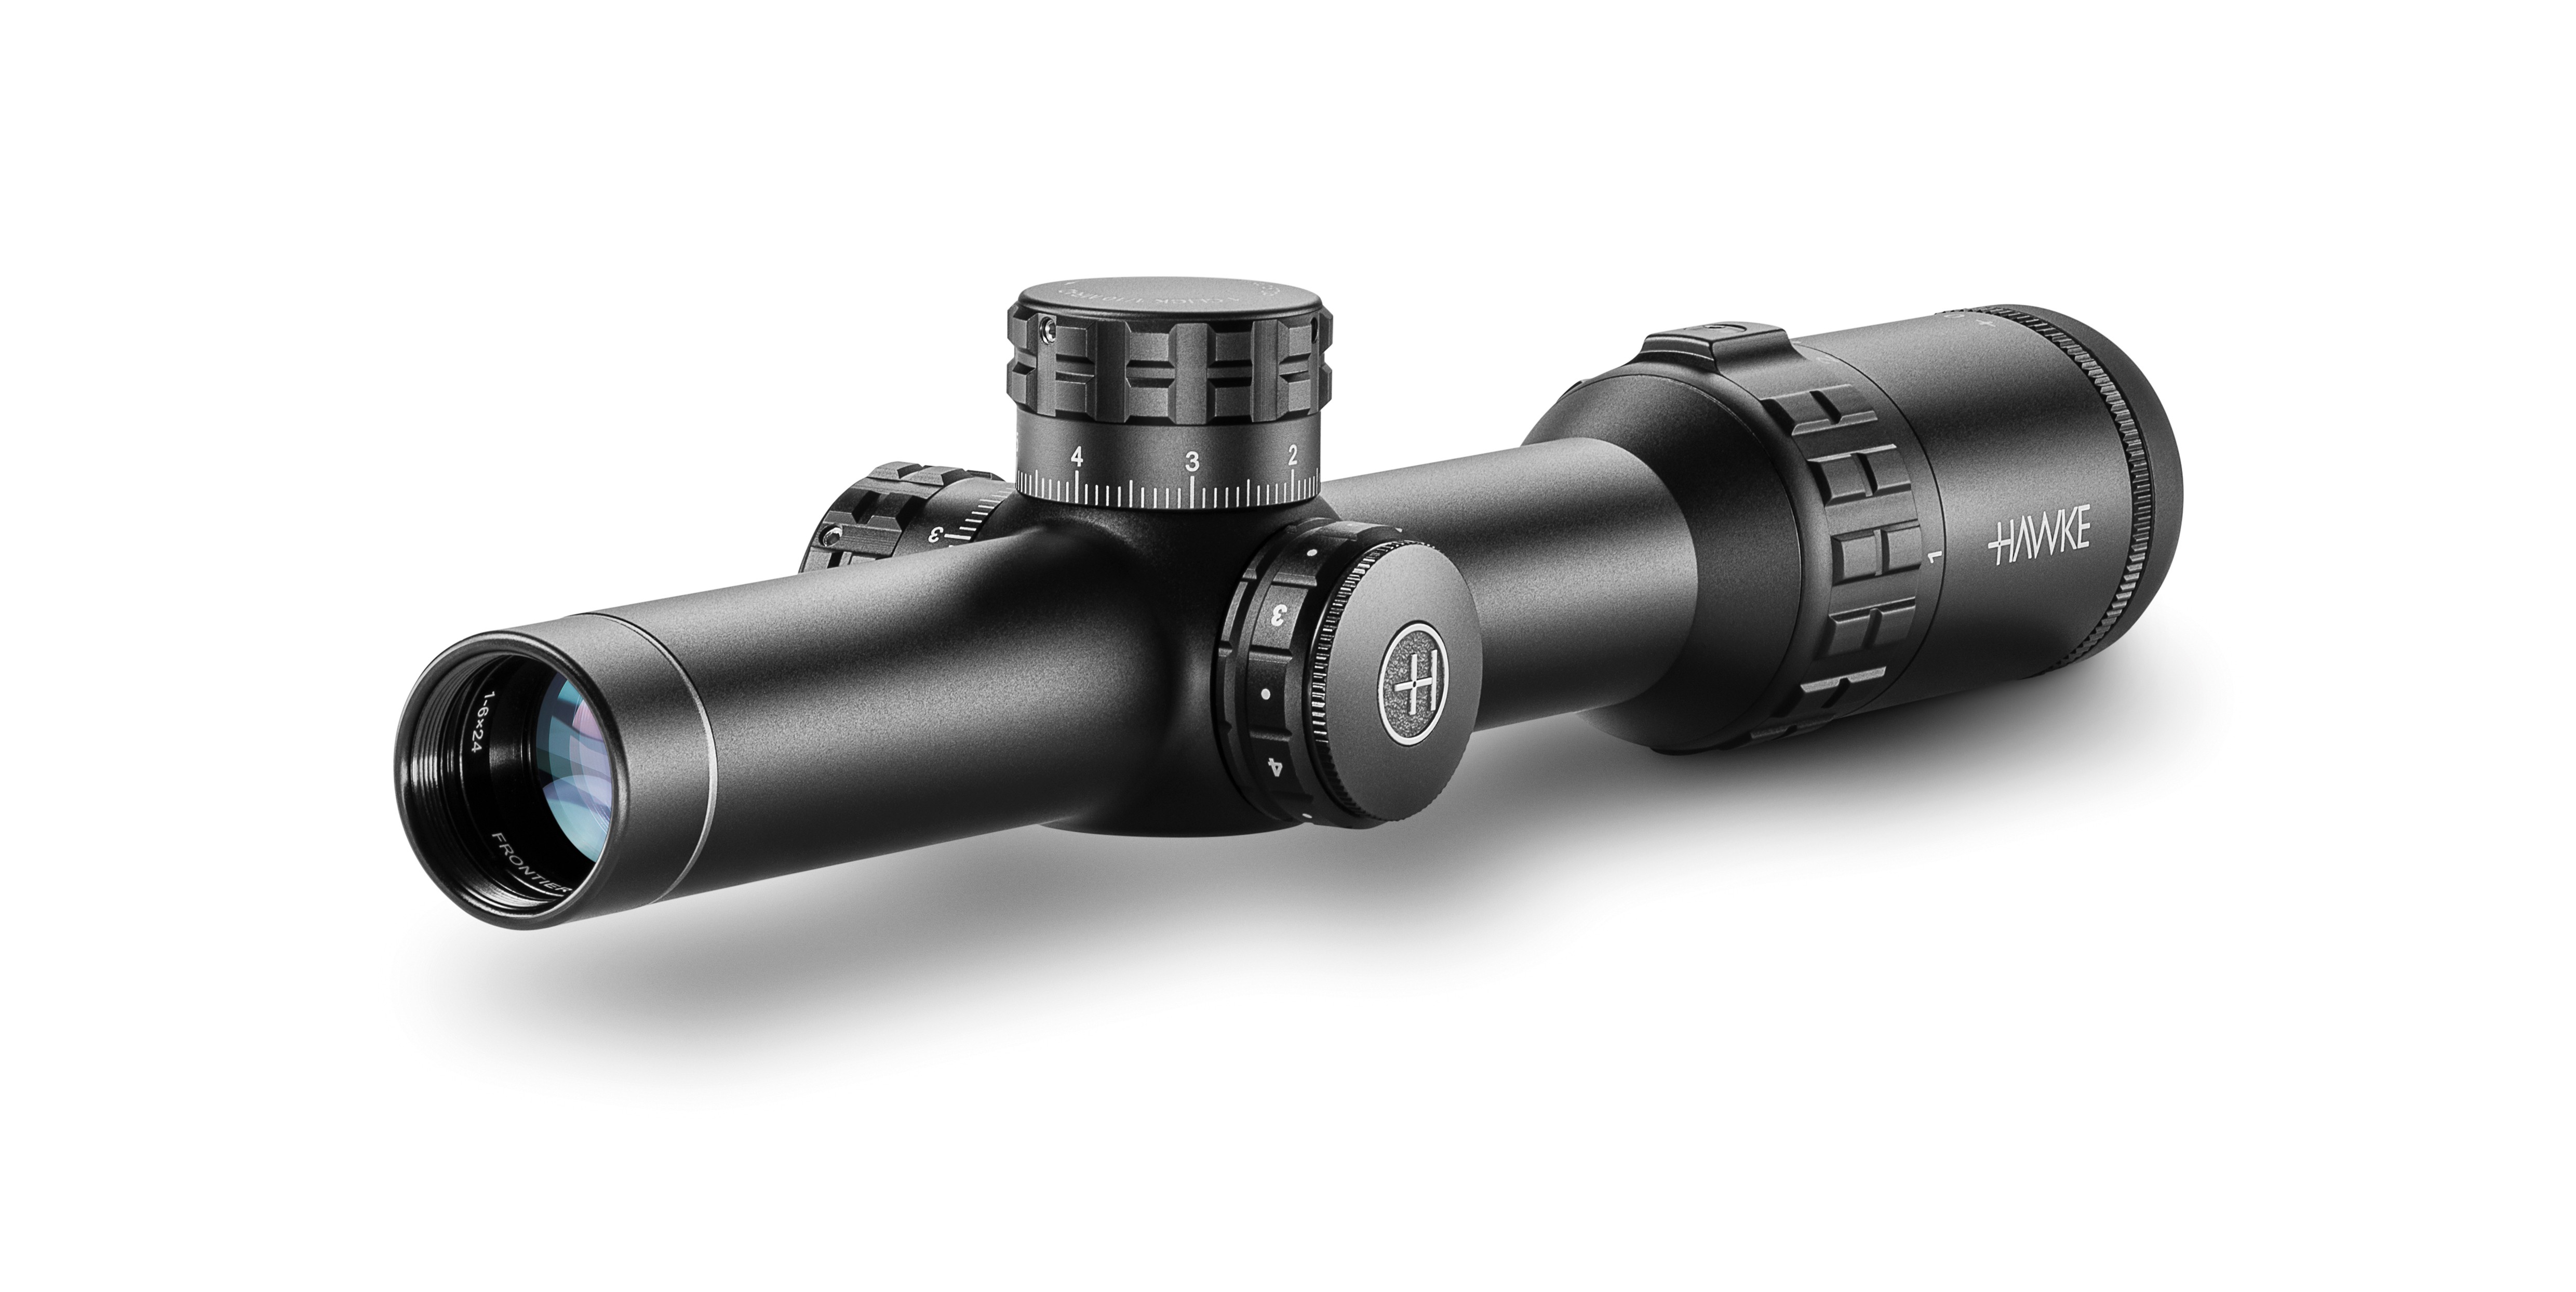 |
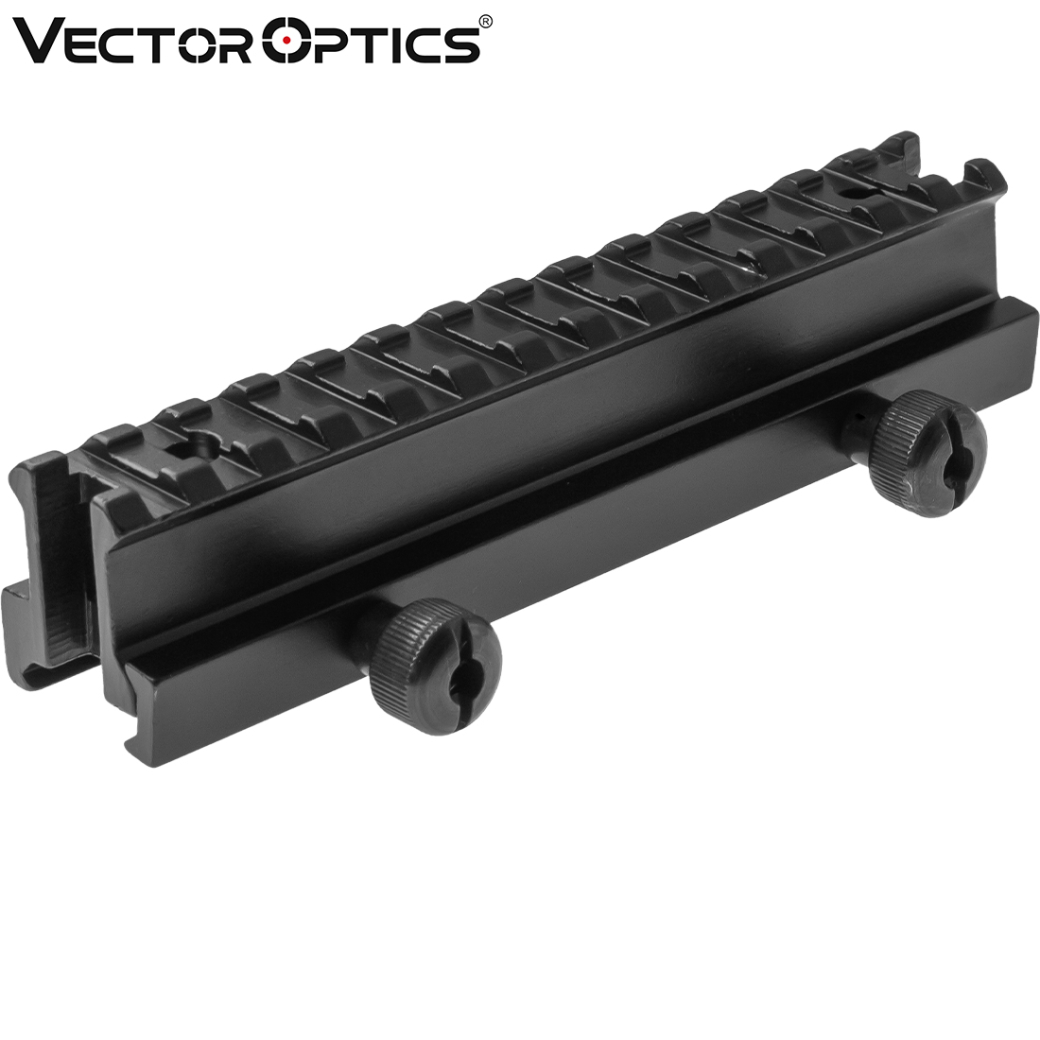
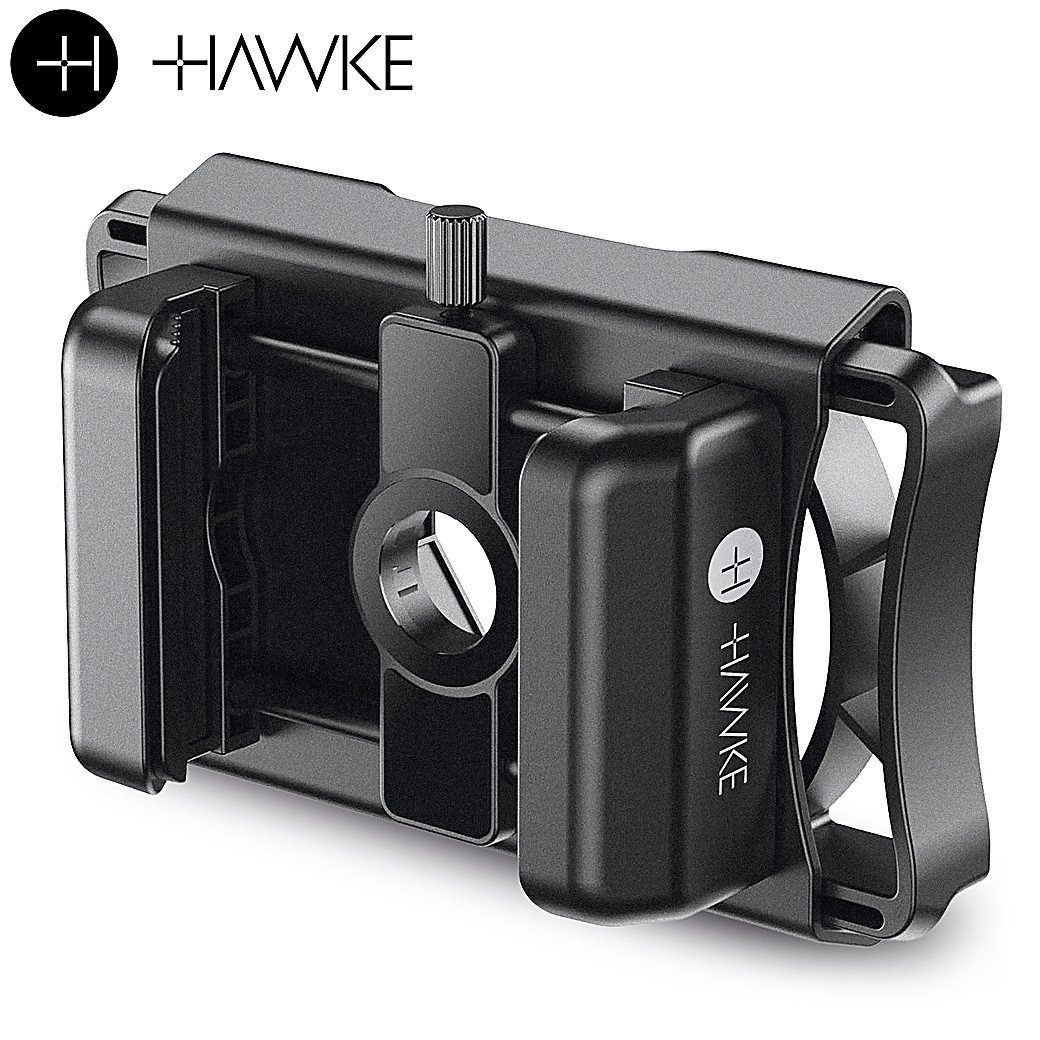
From entry-level models to more advanced solutions for those seeking greater precision, you can find options from recognised brands, along with mounts and accessories essential for proper installation.
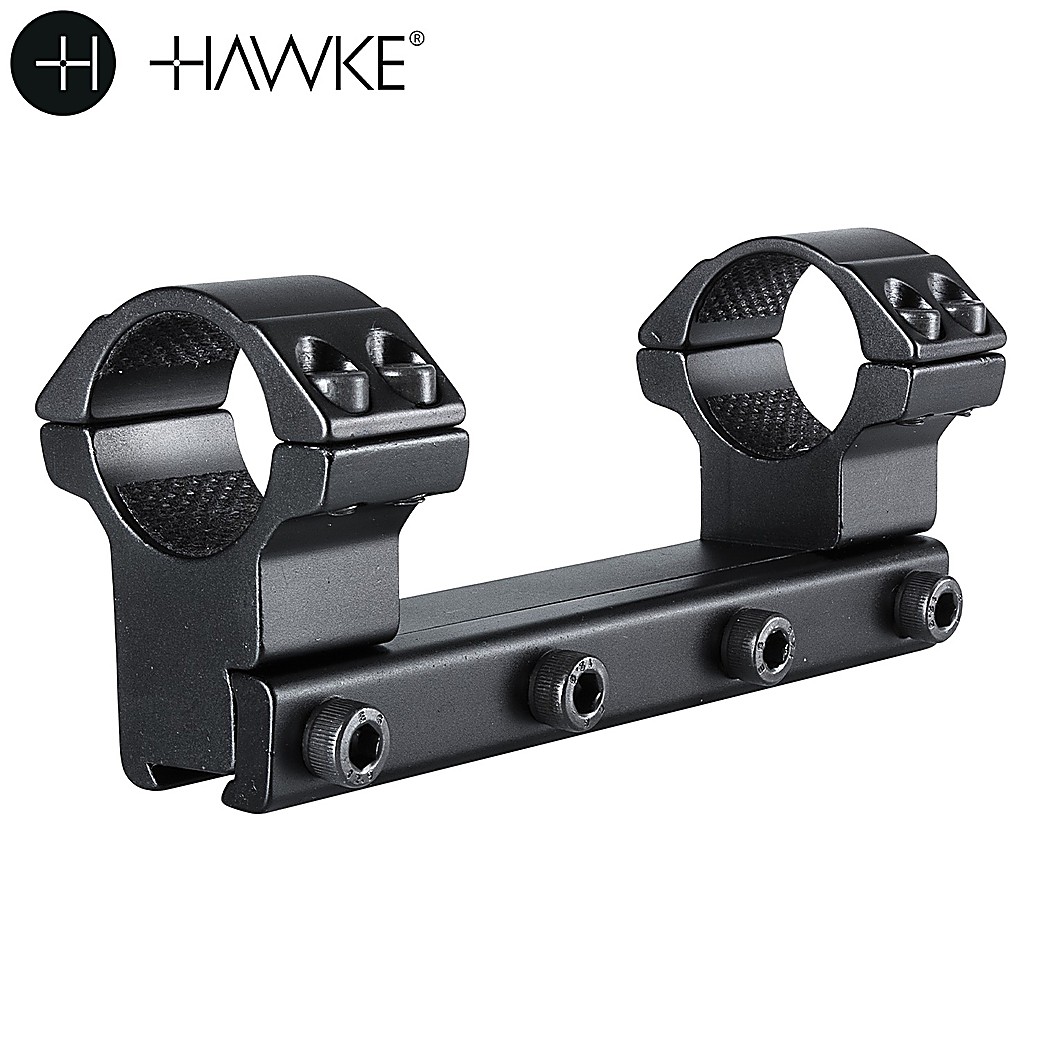 |  |  |
Because choosing a good scope is only the first step. Knowing how to mount it, zero it and keep it zeroed is what truly allows you to take full advantage of your rifle’s potential.
Now that you know how to zero a scope and the steps you need to take for a more precise zero, the question remains: which other topics would you like to see explained?
Send your questions or suggestions to [email protected]
Frequently Asked Questions
What is the difference between a mounted scope and a zeroed scope?
A mounted scope is simply one that has been correctly installed on the rifle. A zeroed scope has been adjusted so that the point of aim coincides with the point of impact at a given distance.
Does a new scope come already zeroed?
No. Scopes may be factory aligned, but they must always be adjusted to the rifle, ammunition and intended shooting distance.
Can you zero a scope by yourself?
Yes. With a stable rest, a defined distance and some patience, most shooters can carry out the initial zeroing of their scope.
Why does my scope hit in a different place after I change pellets?
Because different pellets can have different weights, shapes and velocities, altering the trajectory and point of impact.
Does a scope need maintenance?
Yes. Checking the screws, protecting it from impacts and storing it properly helps maintain the scope’s performance and durability.
Why are my shots spread out even when the scope is zeroed?
Shot dispersion can be related to several factors, such as shooting technique, the rest used, ammunition, environmental conditions or the behaviour of the rifle itself.
Should I zero the scope with the rifle supported or from my normal shooting position?
For an initial zero, a stable rest helps eliminate movement and better understand the equipment’s behaviour. Afterwards, it is important to confirm the results from your usual shooting position.
Can I use a scope designed for a firearm on an air rifle?
Not all scopes are suitable. Air rifles, especially spring-powered models, can generate different vibrations and require scopes designed for that type of use.
How do I know whether the issue is with the scope or the rifle?
The best approach is to test different conditions: check the mounting screws, use consistent ammunition and observe whether the shot groups remain consistent. Changes in performance help identify the source of the issue.
How long does a scope hold zero?
There is no fixed period. A well-mounted, properly used scope can hold zero for a long time, but it should be checked whenever changes are made to the equipment or it receives an impact.
Do I need to zero the scope every time I go shooting?
No. Once it has been correctly zeroed, you only need to check the zero occasionally, especially after transporting the rifle, changing ammunition or modifying a component.
Is a scope with more magnification always better for shooting at longer distances?
Not necessarily. More magnification can help you see the target, but accuracy also depends on the quality of the scope, stability, ammunition and the shooter’s ability.
 Artigos Relacionados: